This tutorial covers how to create a custom Facebook pixel event based on the time spent on a page of your website. When a user spends 30 seconds on the page, the event triggers. It is further triggered when the user spends 60, 90, 120, 150 and 180 seconds on the site.
We will cover:
- Create the Facebook pixel event. We use Google Tag Manager for this;
- Create custom conversions based on these events; and
- Add columns to our ad reports to show data related to these conversions.
Creating these custom events will help us understand the quality of our traffic. With this data, we create custom audiences.
The Facebook Pixel
I am assuming you have the Facebook Pixel installed on your site. If not, do this first.
I am also assuming you have:
- A Google Tag Manager account set up;
- A Facebook Business Account set up;
- Configured to manage tags using Google Tag Manager;
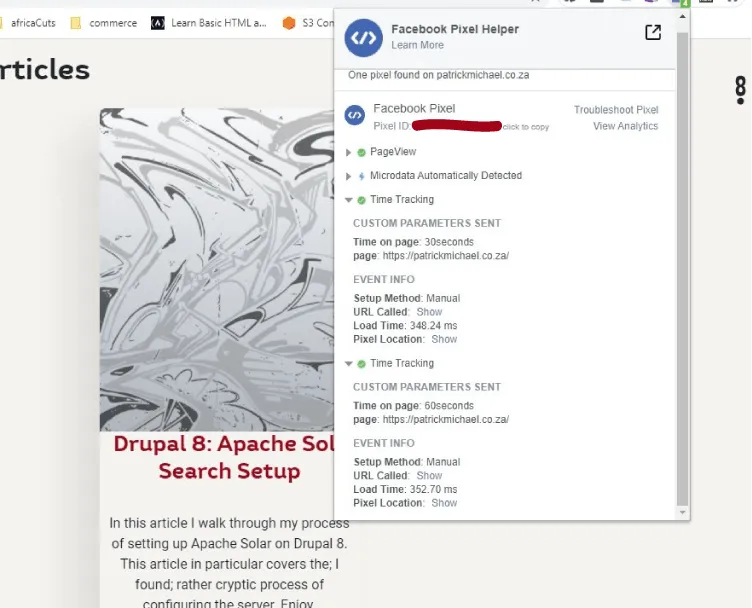
- It is a good idea to have the Facebook Pixel Helper plugin installed on Google Chrome.
GTM - Create a Trigger
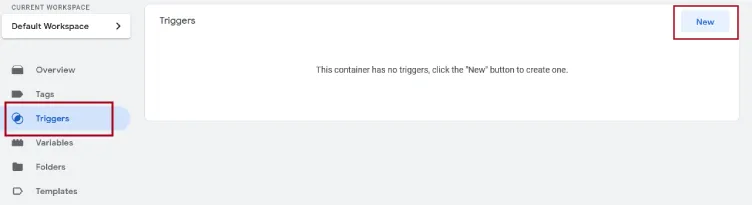
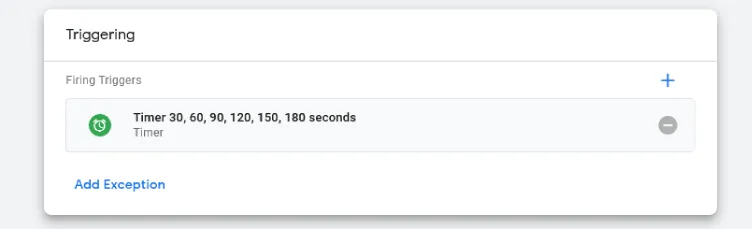
We want Facebook to fire an event for every 30 seconds a visitor is on the page. For this, we need a trigger. Log in to your Google Tag Manager (GTM) account and create a new Trigger.
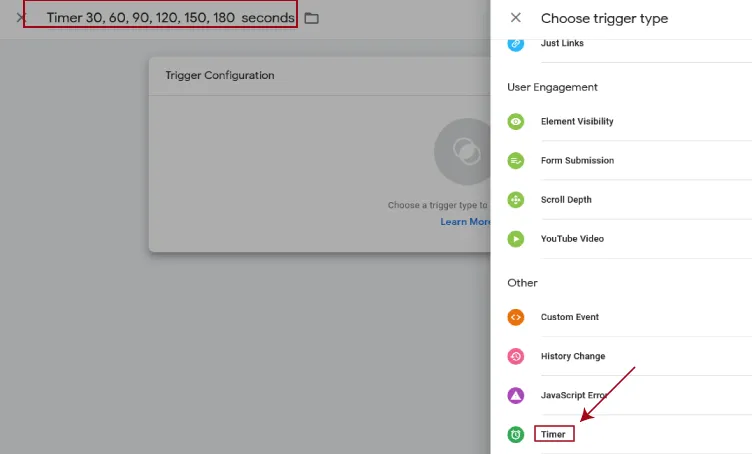
Name the new trigger 'Timer 30, 60, 90, 120, 150, 180 seconds'. Configure the trigger as a Timer Type.
- Set the Interval to 30 000 milliseconds (30 seconds).
- Set the Limit to 6.
- Enable when
Eventmatches RegEx = .* - Fires on
All Timers
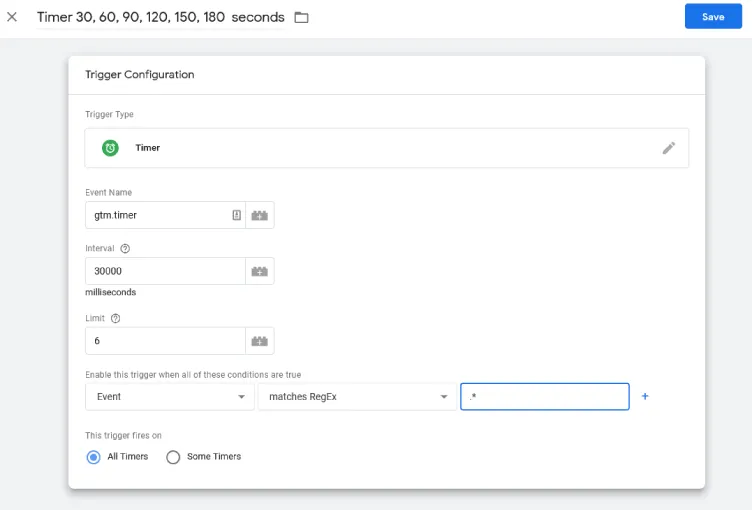
Save the event.
We need the Facebook Pixel to record the Event Number and Interval. Use these values in the Tag (explained later in this article). To record number and interval values we use variables in GTM.
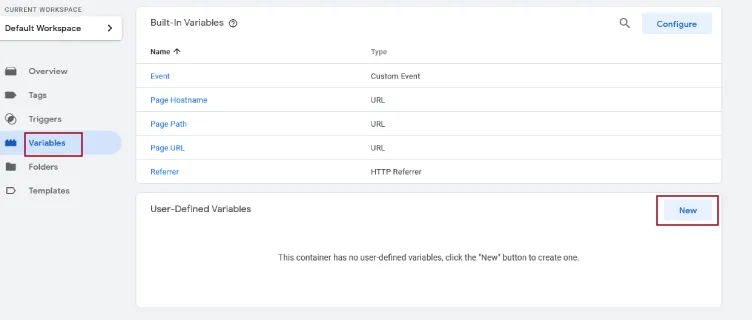
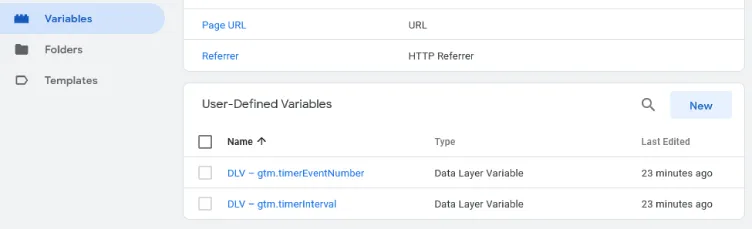
GTM - Create Variables
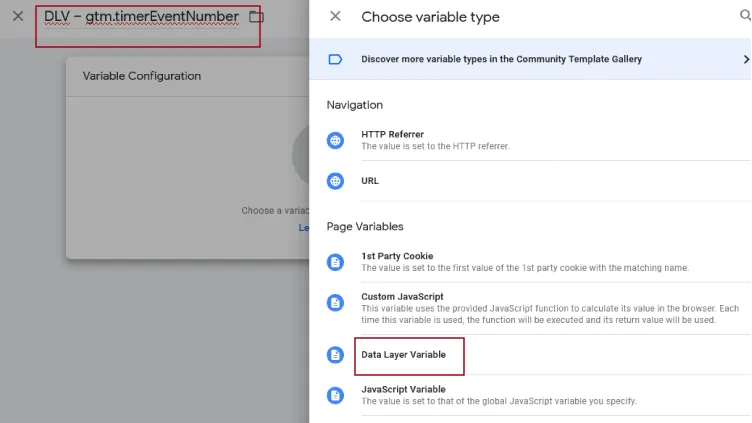
In GTM select Variables → New. The variable will be of type Data Layer Variable.
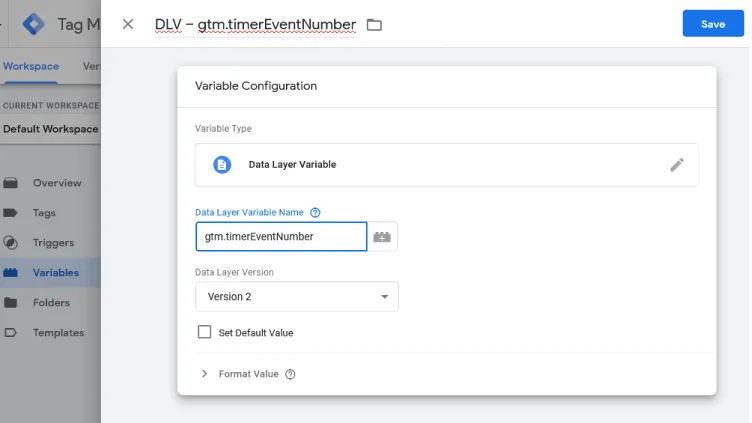
- Name this variable DLV – gtm.timerEventNumber with a Data Layer Variable Name of gtm.timerEventNumber. This will hold the Event Number.
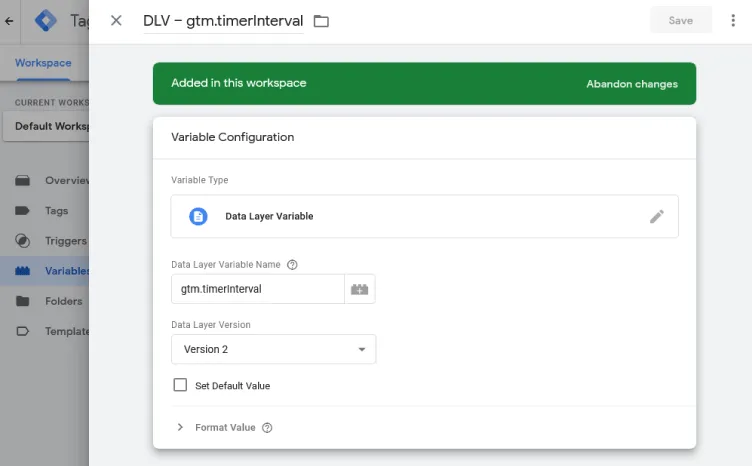
- Create a second Data Layer Variable. Name it DLV – gtm.timerInterval. This will hold the Event Interval.
We will now create the Tag.
GTM - Create the Tag
In GTM create a new Tag.
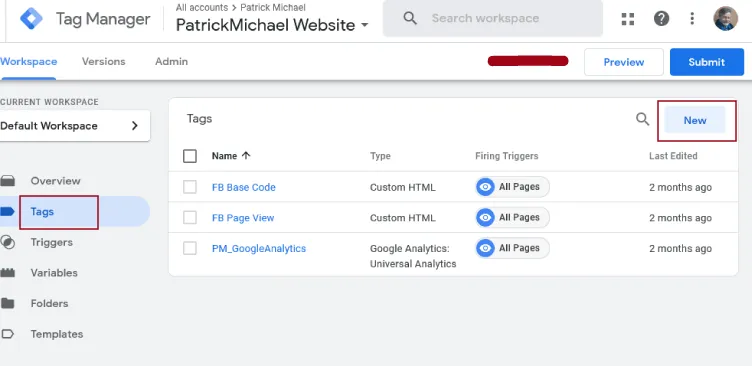
- Name the Tag 'FB – Track – 30 Seconds or more' and tag type 'Custom HTML'

- Into the HTML block, paste the following code:
<script>
var timeOnPage = ({{DLV - gtm.timerEventNumber}} * {{DLV - gtm.timerInterval}}) / 1000;
fbq ('trackCustom', 'Time Tracking', {'Time on page': timeOnPage + 'seconds', 'page': '{{Page URL}}'});
</script>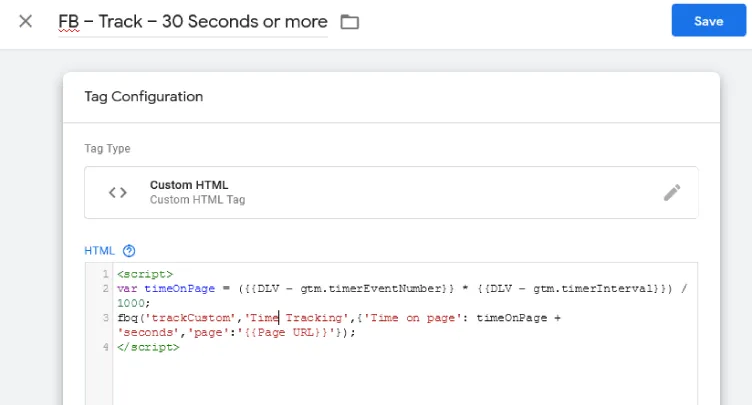
- Under 'Advanced Settings', 'Tag Sequencing', set the FB Base Code to fire before FB - Track - 30 seconds of more.
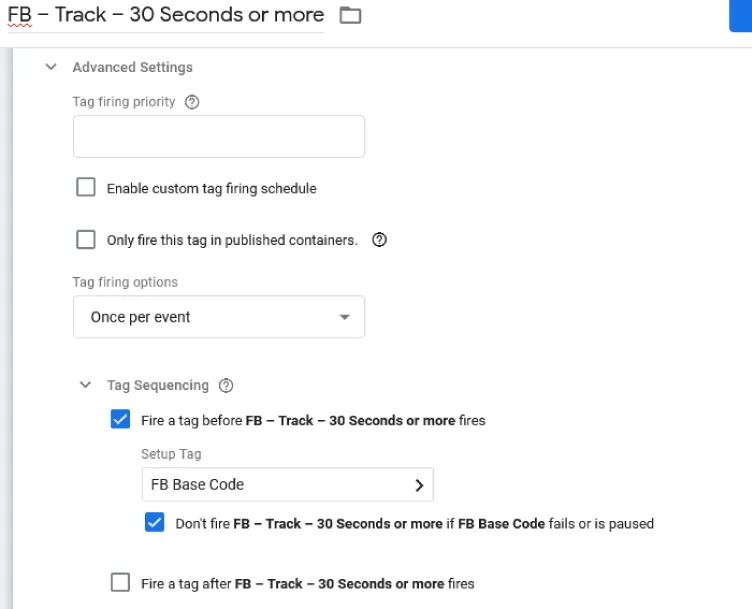
- Set the Trigger to be the Timer we just created. 'Timer 30, 60, 90, 120, 150, 180 seconds.' Save the tag.
We can now test the new Tag.
Test the Tag
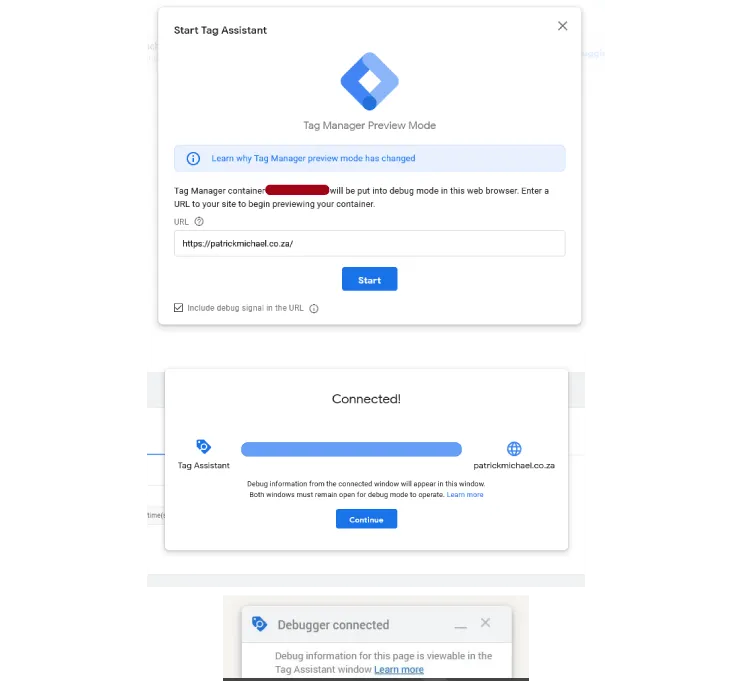
In the GTM console, top right corner, click 'Preview'. The debugging process starts. The debug process first checks for errors. If there are any, the errors will show at this point.

If there are no errors the 'Start Tag Assistant' dialogue shows. Enter your website address and click Start. Two things happen.
- Your website opens in a new browser window. A dialogue shows - 'Debugger Connected'.
- The Tag Assistant 'Connected' dialogue shows in the initiating window. Click 'Continue'.
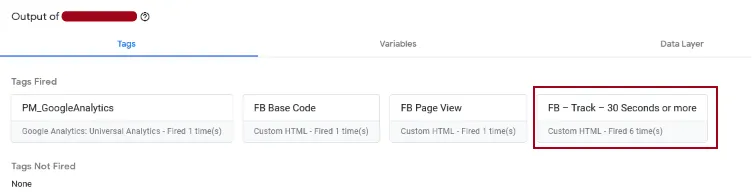
In the Tag Assistant window, the tags that have fired show. Here we see the FB - Track - 30 seconds or more event has fired.
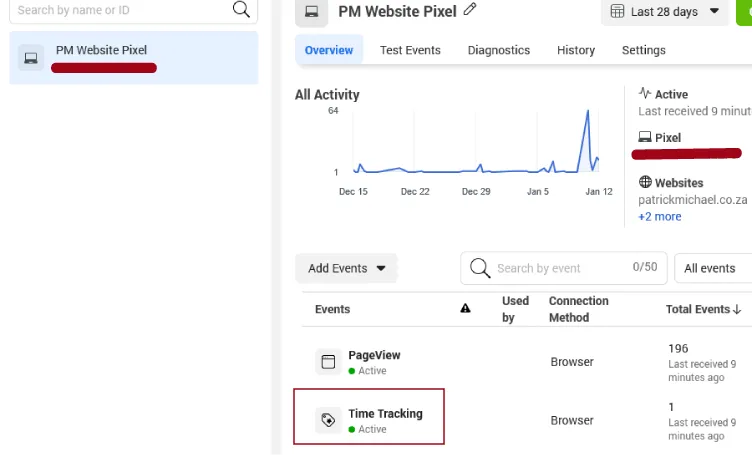
Go to your Facebook Business Account → Event Manager. Here you should see the Time Tracking event as Active.
All is well. In GTM we now submit the new tag, variables and trigger. Click 'Submit', enter a version message and save. As a final check, open your site in Google Chrome. Check the Facebook Pixel Helper to see if your new tag is firing.
Next we will create custom conversions and add the conversion data to our Facebook Ads Report.
Facebook Business - Create Custom Conversions
TODO - Copy for custom conversions.
References
The following excellent references helped me write this article.
Comments
FB Custom event
Is this we can do on website directly without using tag manager
I am sure it can be
..however I have not done it myself. Tag Manager makes life a lot easier. :-)
Add new comment